Grand Canyon Photography Tips

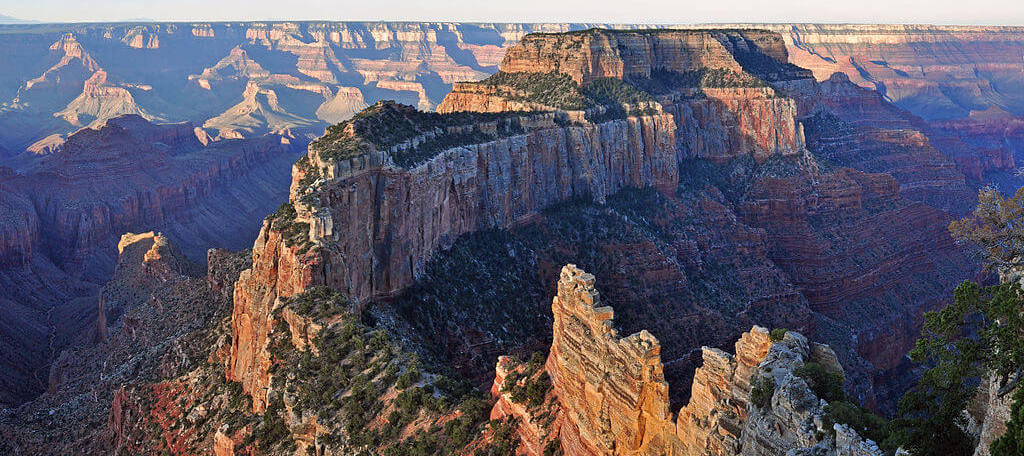
Between adventure seekers snapping selfies on their smartphones and amateur photographers seeking that perfect sunset shot, thousands of photos of the Canyon are taken every day.
There’s no question that the Grand Canyon is beautiful, but that beauty isn’t easily be captured without some planning, preparation, and patience.
We’re here to help!
What Supplies To Pack
The Grand Canyon is as accessible a photographic destination as you could hope for, with the grandest of views just a few measly steps from a parking lot or bus stop. It can be tempting to pack every piece of photographic equipment you have to ensure you have the most photographic flexibility, but you’ll probably end up getting frustrated as you root through unnecessary gear while looking for something specific. The last thing you want to do is take everything out of your bad just to find that wayward SD card!
Instead, think about creating a default set-up for the photos you expect to take. There’s little reason to walk around with your long lens mounted when a medium or wide-angle lens is more likely to take better photos of the vistas you’ll encounter.
You won’t need every piece of photographic equipment you own, but there are some staples you should seriously consider bringing along:
- Tripod: Tripods are essential for capturing sunrise and sunset shots. Mounting your camera on a tripod will help you avoid blurry photos so you can relive the magic of the Canyon sunrise or sunset without feeling like you just got off a roller coaster.
- Polarizer: This will help separate the clouds from the blue sky. It can also be used to reduce glare on the Canyon.
- Air blower: It gets dusty around the Canyon, even where the sidewalk is paved (blame the surrounding desert and giant gaping rock chasm).
- Neutral density filter: Parts of the Canyon can appear dark relative to the sky, so properly exposing both without a natural density filter can be difficult.
- Cable release: After setting up a sunrise or sunset shot, you should take a number of shots as the light changes. A cable release will help you easily take several shots and also reduce camera shake.
- Flash: If you plan on taking pictures of people with the Canyon in the background, you’ll probably need some fill light for proper exposure. A flash can help you with this.
Before you depart on your Canyon adventure, look for photographic inspiration on popular photography sites. For example, a simple search on 500px.com can give you a good idea of what kinds of shots you can expect to take. You can also use the photos others have taken as inspiration to help you determine specific locations you want to visit.
How to Take the Best Grand Canyon Photos
While there are tons of stunning Canyon photographs awaiting nothing but your lens and your skilled eye, there are also a number of ways for you to miss out on great photo opportunities.
Luckily, it’s easy to avoid most of these missteps:
- Quantity over quality: If you’re like most Canyon visitors, you’ll probably want to snap a photo of every vista you come across while walking along the rim. Feel free to do so, but keep in mind that the more photos you take, the more likely it is that you won’t have time to pause and reflect on what might make for an interesting composition. If you take a few moments to walk around the area near your chosen viewpoint, you might find that a few steps to one side or another can add a whole new perspective to your photo that you didn’t initially notice.
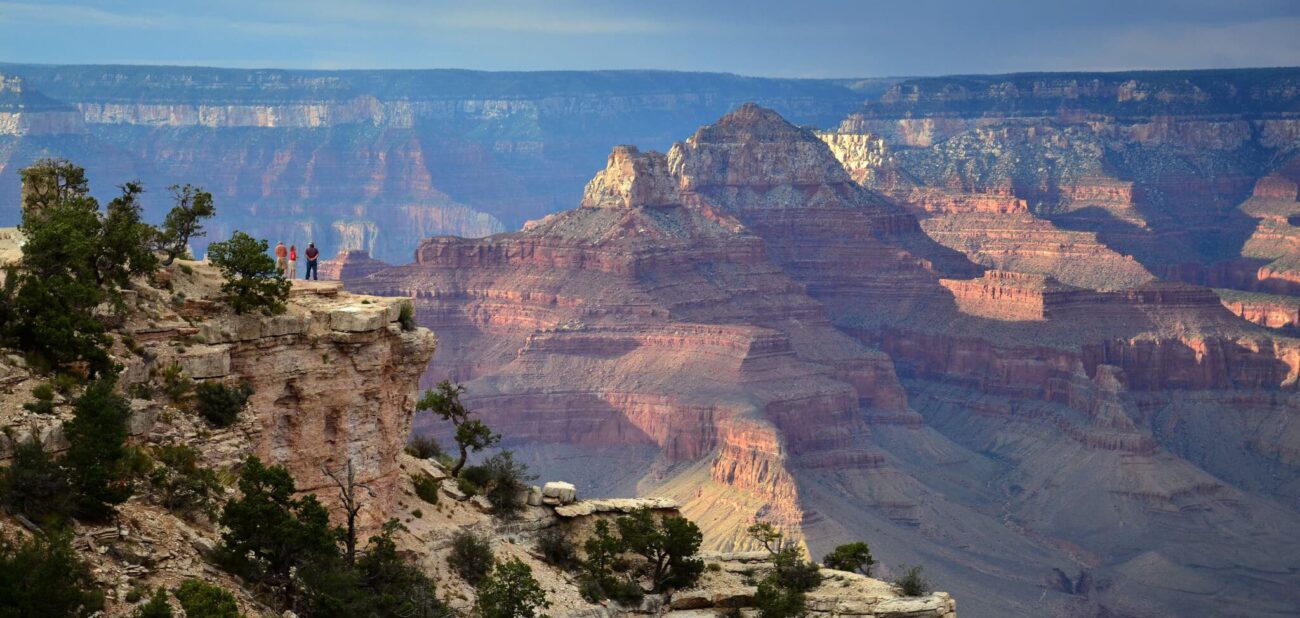
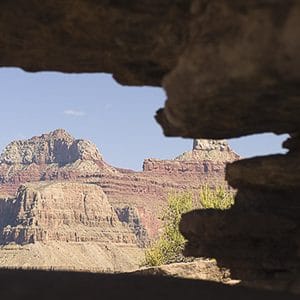
- Ignoring the foreground: Photos that include nothing but the Grand Canyon can be good, but including an interesting foreground and background can add perspective and scale that might otherwise be lost. Framing your photos with using trees and other interesting elements is a great way to add perspective.
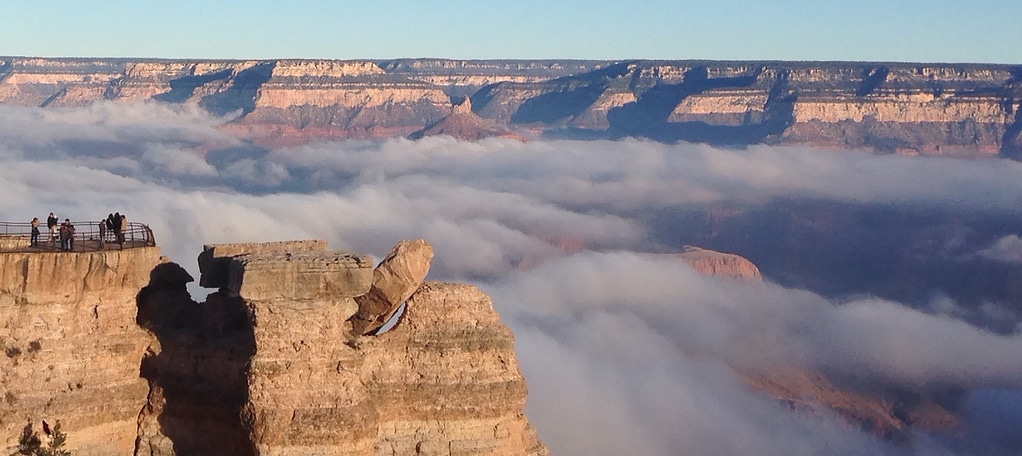
- Forgetting about the viewer: Remember that the person viewing your photo won’t have the same experience as you had to draw upon when they interpret the photo. Including something in the foreground, such as wildflowers, trees, rocks, or even people, can help them experience the Canyon as you did. Silhouetted foregrounds such as the trunks and branches of trees can also nicely frame the Canyon.
- Look around! If you’re in a hurry to snap the perfect photo, it’s easy to forget to look to either side while standing on the rim. It is true that the most unobstructed view of the Canyon is right in front of you, but there’s nothing that compares to the perspective your photos can gain by taking a side shot that includes people in the distance. Plus, if the sun happens to be shining in your lens, you can simply turn the other way for well-lit subjects.

5 Tips and Tricks for Getting that Perfect Shot
It’s pretty difficult to take a “bad” photo of the Grand Canyon, but there are a few simple things you can do to make the most out of your photo opportunities.
1. Be aware of haze
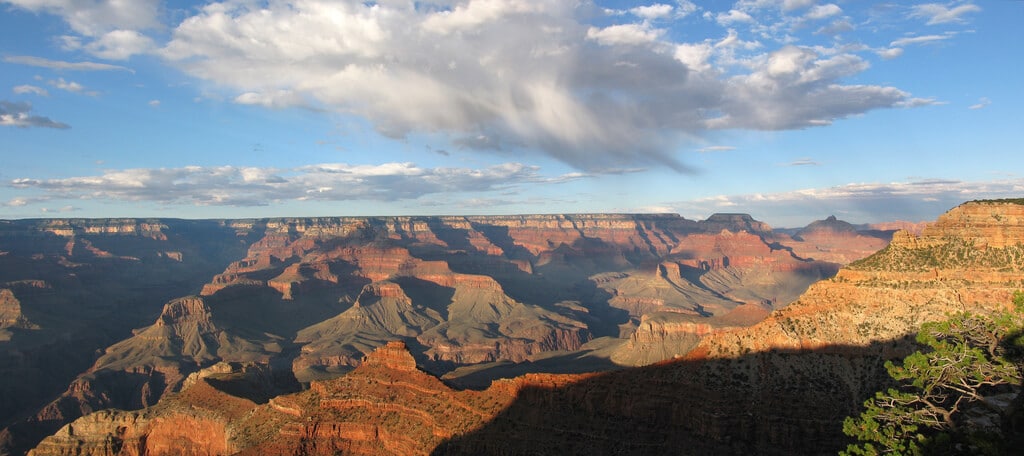
Your brain may filter it out for you, but try to be aware of haze. The Canyon is 10 miles across and 1 mile deep on average — that’s a lot of atmosphere between your camera and the Canyon. There isn’t much you can do about this, but don’t be dismayed if the image on your camera’s LCD screen appears more washed out than you expected. If everything else about the shot is solid, you’ll be able to boost contrast easily when you get home.
2. Watch out for controlled burns
Even worse than the effect of haze is smoke from fires. Be sure to check on any plans for controlled burns so you can avoid them as much as possible. Some North Rim roads close when a burn is occurring, which can limit your access to parts of the rim.
3. Consider a winter visit
If you want to see the Grand Canyon in a way that most haven’t, consider visiting in the winter. Snow certainly makes taking photos more challenging, but you may be rewarded with a rare and beautiful shot of the Canyon blanketed in snow. Plus, there are fewer visitors competing for golden photo opportunities in the winter, with the fewest visitors in January. Just remember that the North Rim closes annually from mid-October to mid-May, so if you want a winter shot, consider visiting the South or West Rim.
4. Balance your lighting properly
The lighting in the Canyon can be challenging because of its high dynamic range. A properly exposed Canyon shot will likely result in a white sky, so use your tripod and exposure bracketing to capture lowlights and highlights. You can combine these later in a photo-editing program such as Adobe Photoshop.
5. Watch out for wildlife
Seeing wildlife is rare (except for squirrels and chipmunks, which are everywhere) in the Grand Canyon, especially in crowded areas. However, keep an eye on the sky for one of the rarest birds in the world, the California Condor, which is known to fly circles over the Canyon. If you see one, consider making a hasty trip to the rim so you can combine both bird and Canyon into a single photo.
Here are 6 more cool creatures to keep your eyes open for when you visit the Grand Canyon.
Golden Photo Opportunities
No doubt you will return from your Grand Canyon adventure having learned something new about photography. This, to many amateur and professional photographers, is actually most of what makes photography fun. In addition, you may also discover that one photo amongst a plethora of shots that will make your Facebook friends ooh and ahh, or you might find something worth framing and mounting on your wall.
Good luck and happy clicking!
The Complete Grand Canyon Visitor Guide
Find answers to all your questions about the Grand Canyon in our guide!
Take Our Tips With You!
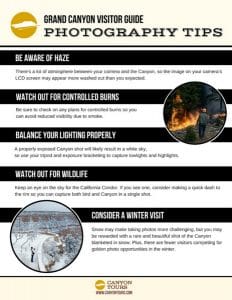
Our free printable photography tips guide contains everything you need to know to make sure you go home with that perfect Grand Canyon shot, including:
- Tips for taking great photos
- Mistakes to avoid
- Essential photography supplies
Download the Complete Grand Canyon Visitor Guide for guides to each Rim, packing lists, travel tips and more.

