How to Photograph Antelope Canyon: Antelope Canyon Photography Tips for Your DSLR or Smartphone
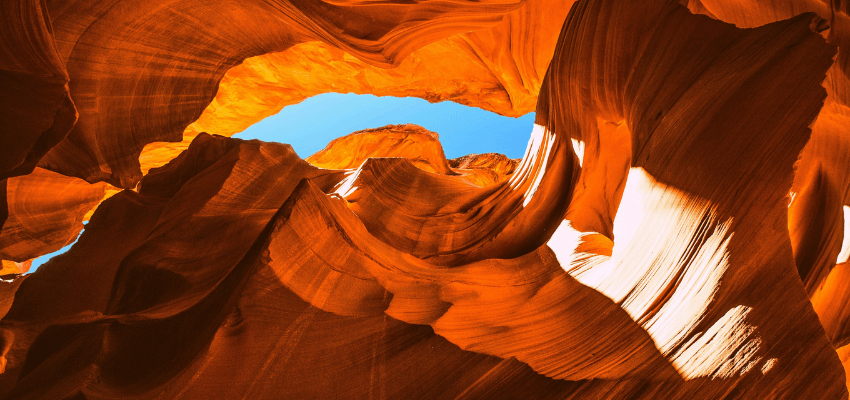
Antelope Canyon, located near Page, AZ, is a renowned photography destination divided into Upper and Lower sections. Understanding the Canyon’s unique lighting conditions, the differences between the two canyon sections, and how to adjust your DSLR or smartphone camera settings are key to snapping Insta-worthy shots.
Frequently described as “smooth,” “curving,” “orange” and “beautiful”, Antelope Canyon is one of the most iconic, extraordinary destinations in the Southwest.
Located near Page, AZ, Antelope Canyon is made up of two unique, entirely separate sections: Upper and Lower Antelope Canyon.
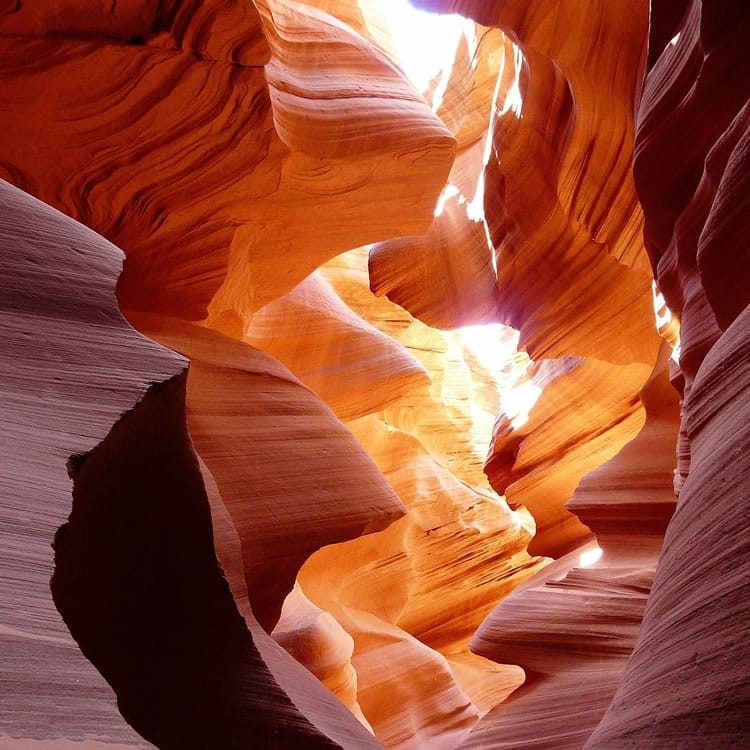
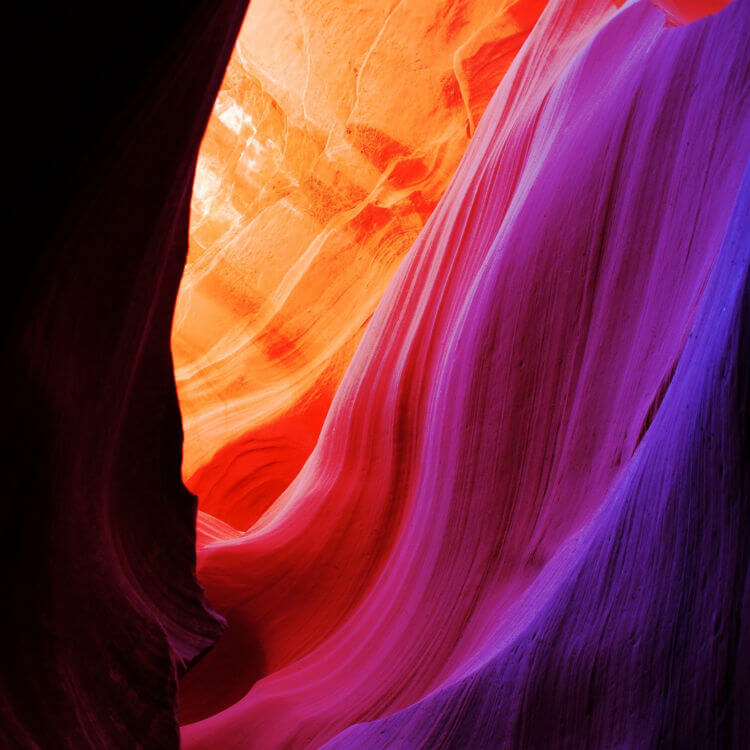
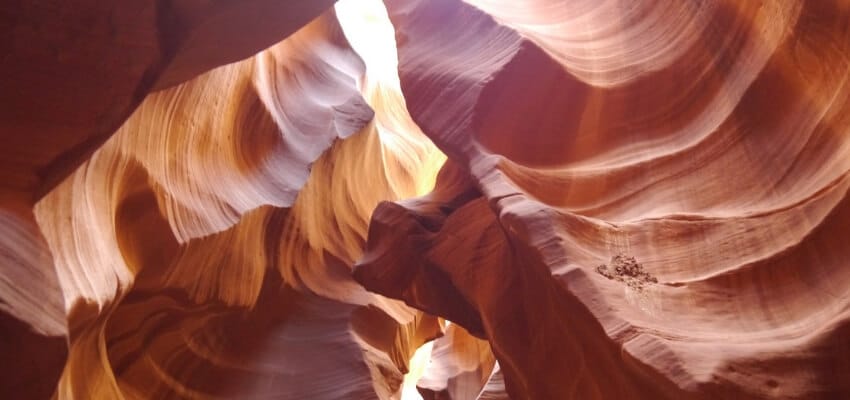
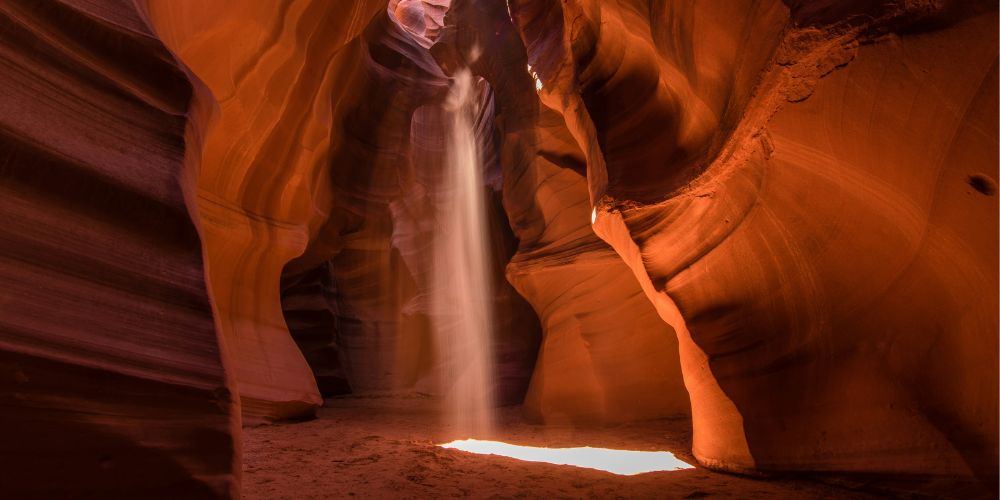
Photographers have flocked to this irresistible slot canyon for years, and when you see photos, its draw is obvious. The ethereal curving walls of Antelope Canyon are as mystical as they are orange, and thanks to its meandering nature, Antelope Canyon also showcases some pretty impressive sunbeams gently infiltrating the darkness of the slot Canyon.
Whether you’re a photo pro with a high-end DSLR or simply interested in documenting your adventures with your phone, we’ve got all the Antelope Canyon photography tips you need for how to take Insta-worthy shots, whichever part of it you decide to visit. In this post we will discuss:
- How to photograph Antelope Canyon with a DSLR or your smartphone
- What is the difference between Upper and Lower Antelope Canyon?
- Important Antelope Canyon photography rules
Let’s dig in.
How to Photograph Antelope Canyon
When it comes to angles, Antelope Canyon has no bad sides. The smooth orange walls are captivating from any perspective, offering endless options for shots.
It’s hard to take a bad photo of Antelope Canyon, but for the best possible photographic results, aim to be there in the middle of the day. It’s important to note, however, that it will also be the busiest and most expensive time to visit because it is also when the lighting is best. The lighting may not be ideal in the morning or afternoon, but you’ll have fewer people to work around. Either way, you’ll walk away with stunning shots.
ANTELOPE CANYON PHOTOGRAPHY TIP: Don’t forget to look up! The top of the canyons can offer incredible sights as well, with some of the best lighting and most interesting angles.
If you are worried about shaky hands ruining your shots without the help of a tripod, don’t be afraid to lean against the walls for some stability. Just be careful not to damage the canyon.
How to Photograph Antelope Canyon Sunbeams
To get great pics of those iconic Antelope Canyon sunbeams, timing is key.
If you want to get that perfect sunbeam shot, you’ll need to visit Upper Antelope Canyon between April and October, specifically between 11 AM and 1 PM. Since tours usually don’t start until about an hour after the check-in time, you should choose a 10 or 11 AM start time.
From October to February, the light changes quickly as the daylight is shorter. You can get very dramatic photos throughout the entire day, but you won’t get the sunbeams because of the angle of the sun.
How to Photograph Antelope Canyon with a DSLR
If you have a DSLR, you probably know your settings pretty well. But if you aren’t familiar with the lighting of Antelope Canyon, here are some recommendations we sourced from talented photographers around the internet:
- ISO: Set your camera to the lowest native ISO, probably between 200 and 1,000. However, Kien of Where and Wander says “don’t be afraid to increase your ISO up to 2,000. I find that the noise level is still very acceptable and can even be cleaned up in post.”
- Aperture: Photographers recommend f8, but anywhere between f2 and f12 is good depending on the light. Just note that “the lower the f/stop, the larger the opening in the lens, the less depth of field, the blurrier the background.” Kien advises that “f/2.8 – f/4 are a sweet spot for getting enough light while keeping more of the scene in focus.”
- Exposure: AntelopeLowerCanyon.com recommends that your exposure should be set between -1.0 to +1.0.
- Shutter speed: Use auto (aperture mode) or as low as possible—generally between 1/10 to 1/100-200.
- Focal length: It is generally advised that you use the widest possible focal length.
If you need on-the-spot advice, many of the tour guides are experienced photographers and should be able to provide you with suggestions.
LENS TIP: You likely can’t or won’t want to change lenses inside Antelope Canyon for a few reasons: you can’t bring in backpacks, it is quite sandy and dusty in the canyon, and you also won’t have a lot of time in a given location. Instead of planning to change lenses, come to the Canyon with the widest zoom lens you own already attached for the best shots.
How to Photograph Antelope Canyon with a Phone Camera
You don’t have to have a special camera to take great shots of Antelope Canyon. Nowadays, phone cameras are incredibly sophisticated and are more than capable of taking amazing photographs—sometimes more easily than actual cameras.
To get the best photos of the canyon with your phone, try these tips:
- Always shoot using the wide-angle lens setting
- Use the night mode or long-exposure setting
- Hold your phone as still as possible—brace your arms by leaning against walls or other guests (just ask them first)
- Play with your phone’s filters to see what settings provide the best colors
What’s the Difference Between Upper and Lower Antelope Canyon?
There are two regions of Antelope Canyon: upper and lower Antelope Canyon. Both regions offer stunning photo ops, with distinctive features that make each slot canyon unique.
Compare upper and lower Antelope Canyon in the table below:
Upper Antelope Canyon
- The only place to snap one of those iconic sunbeam shots
- Darker than the lower canyon, which makes for more dramatic photos
- Wider at the bottom and narrower at the top than Lower Antelope Canyon, like an inverted “V” shape
- Easier to walk through, with more space to explore
- More crowded
Lower Antelope Canyon
- Narrower at the bottom and wider at the top, like a “V” shape
- More ladders to climb and narrow passageways to squeeze through
- Visit timing is less critical
- Does not offer the iconic sunbeam shots, but has plenty of incredible options and better lighting
- Less busy than Upper Antelope
Antelope Canyon Photography Rules
Antelope Canyon is a protected area on the land of the Navajo tribe, and there are strictly enforced rules if you want to enter the canyon and take photos.
These rules include:
- You cannot enter the canyon if you aren’t on a tour with a guide
- No flash photography
- No tripods, monopods, or selfie sticks allowed
- You need to get a photo permit directly from Navajo Parks Management if you plan to sell your photos or use them online
- There are no bags or backpacks allowed on the tours
- There is absolutely no stopping on stairways or ladder
Some tour operators used to offer special tours specifically for photographers, but these have been discontinued in an attempt to reduce congestion and overcrowding. Don’t worry—you can still take spectacular shots on the standard tours.
Final Thoughts
You simply can’t take a bad shot of Antelope Canyon, but having some extra guidance will help ensure your snaps are crisp and perfect. Make sure your DSLR or phone camera:
- Is held as still as possible
- Uses a long exposure
- Uses a wide-angle lens or lens setting
Visit Antelope Canyon:
Antelope Canyon & Horseshoe Bend Tour
$204.00 – $289.00Antelope Canyon Expedition Tour from Las Vegas
$759.00 – $779.00Learn more about Antelope Canyon:
Featured Image: Photo by Fudo Jahic on Unsplash


